Car setup
Fit a Starlink Mini under your sunroof
An interior suction-cup mount can make a neat, no-drill Mini setup on compatible sunroof glass. Measure the complete mount, check the glass and shade, then test the connection while parked before treating it as a travel setup.
By Commaguide · Sources checked · Independent guide
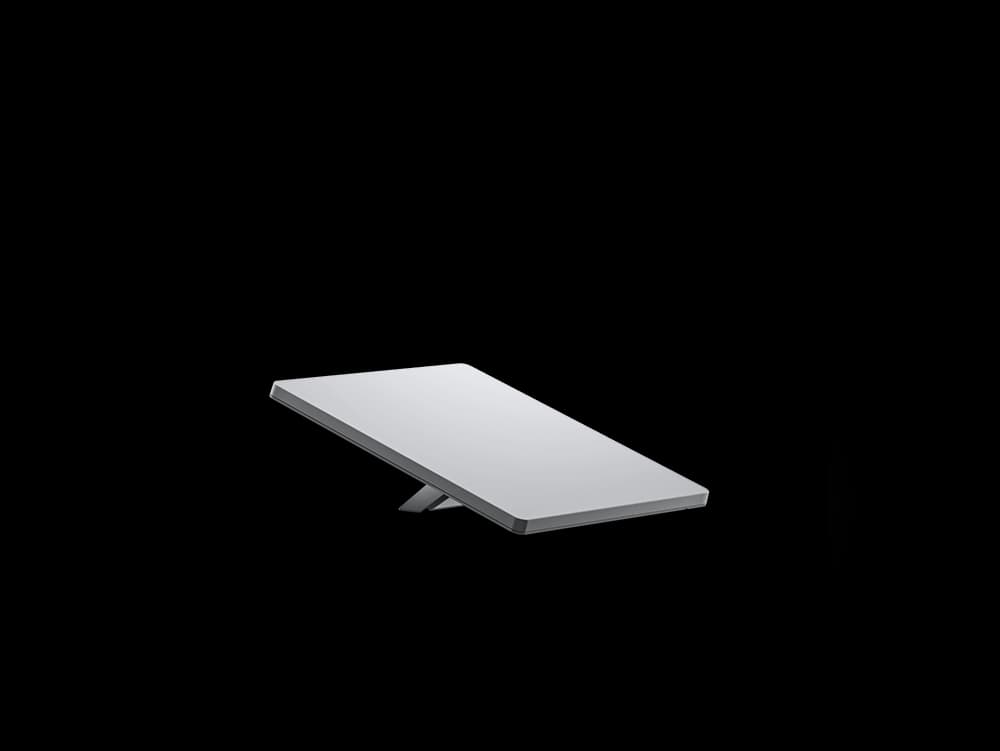
This guide covers an interior glass mount for Mini.
The dish alone is 298.5 × 259 × 38.5 mm. The mount needs more room.
There is no verified “fits most cars” list here.
Will it fit your sunroof?
Measure the usable glass—not the outer roof opening. Compare it with the complete assembled mount’s width, length and drop below the glass. Include connectors and cable bend space. A dish that fits on paper can still obstruct the shade or sit too close to an occupant.
Choose a mount whose maker explicitly permits your surface and intended use. For example, ChargeCore specifies smooth, flat interior glass and excludes curved or textured glass. Those conditions apply to that product; another mount needs its own instructions.
Mini specifications (PDF) ↗ChargeCore approved glass surfaces ↗
Will Starlink work through the glass?
Mount sellers describe interior sunroof installations, but your roof still needs to let the signal through. We have not tested your vehicle, its glass coating or its tint. Ask the vehicle and mount manufacturers about that exact combination before buying.
The app’s obstruction tool helps evaluate sky view; it is not a certification of glass or mount compatibility. Test the actual powered Mini at the intended position while parked. Compare connection stability with a clear-sky setup outside the vehicle before committing.
ChargeCore interior mount installation ↗Mini Mobility Mount installation (PDF) ↗
The installation sequence
Park and check the clearances
Keep the roof closed. Make sure the mount, dish and cable stay clear of the roof mechanism, shade, occupants, visibility and airbags. If the vehicle manual conflicts with the mount instructions, stop and use a different location.
Prepare the glass and mount
Follow your mount maker’s cleaning instructions, allowing surfaces to dry. Assemble the frame and cups exactly as its illustrated guide shows. Do not copy fasteners or cleaning chemicals from a different mount.
Secure the Mini
Seat the terminal in the frame, fully engage each cup and check every retaining latch. Keep supporting the assembly until you have confirmed it is secure. Use any specified secondary retention; do not improvise an anchor on trim or an airbag cover.
Route and power it
Keep the cable out of moving mechanisms and the driver’s controls. Use the correct Mini adapter and power source. Never close the roof or shade onto the unit or cable.
Test while parked
Use the Starlink app to check connection status and obstructions, then try your normal online activities. If the installation moves, disconnect and remove it before driving.
Check travel conditions
Before any in-motion use, verify the exact kit, mount, plan and country requirements. Inspect the attachment before each trip and again after a short drive, once safely stopped.
ChargeCore interior mount installation ↗ChargeCore pre-trip checks ↗ChargeCore in-motion conditions ↗Mini USB power requirements ↗
Can the sunroof shade still close?
Only if the assembled setup clears its entire travel path. Low-profile marketing is not a measurement. Moonlight’s guide, for example, distinguishes its standard mount from a compact variant that extends farther into the cabin and cannot fit behind a shade.
Keep the sunroof and shade controls from being operated into the installation. Never wedge the dish between glass and shade or use the shade as support. If clearance is uncertain, remove the unit before operating either.
A working signal does not approve a moving installation
Starlink has separate requirements for in-motion equipment, service and locations. A mount seller’s claim is not Starlink approval of your complete installation, and a successful parked test is not a crash-retention test.
If you cannot verify retention and vehicle compatibility, use Mini outside the parked vehicle on a suitable stable support, then stow it before driving. For a permanent exterior installation, consult the exact mobility-mount instructions and a qualified installer; do not drill glass.

In-motion hardware, plans and regions ↗Mini Mobility Mount installation (PDF) ↗ChargeCore in-motion conditions ↗
Common questions
Does this fit most cars?
We cannot substantiate that claim. Glass shape, coatings, available room, shade movement and mounting instructions vary. Measure your exact vehicle and test the signal.
Can I put it on the dashboard instead?
Do not substitute a dashboard location without checking secure attachment, visibility, airbag clearances and signal. This guide covers a compatible interior sunroof mount.
Can I open the sunroof with it mounted?
Do not operate the roof into the installation. Remove the assembly before opening it unless the exact vehicle and mount instructions expressly permit that arrangement.
Is a suction cup a permanent installation?
Treat it as an attachment that requires inspection. Follow the maker’s service, cleaning and replacement instructions, especially after temperature changes.
Sources and how we checked this guide
We read the linked official documentation and, where named, mount manufacturers’ instructions. Recommendations and estimates are our analysis. We have not road-tested these setups. Prices, plans and terms can change; check your actual order. Mount-maker statements apply to their products and are not Starlink certification.
Mini specifications (PDF) ↗ChargeCore approved glass surfaces ↗ChargeCore interior mount installation ↗Mini Mobility Mount installation (PDF) ↗ChargeCore pre-trip checks ↗ChargeCore in-motion conditions ↗Mini USB power requirements ↗Sunroof mount sizes and clearance ↗In-motion hardware, plans and regions ↗